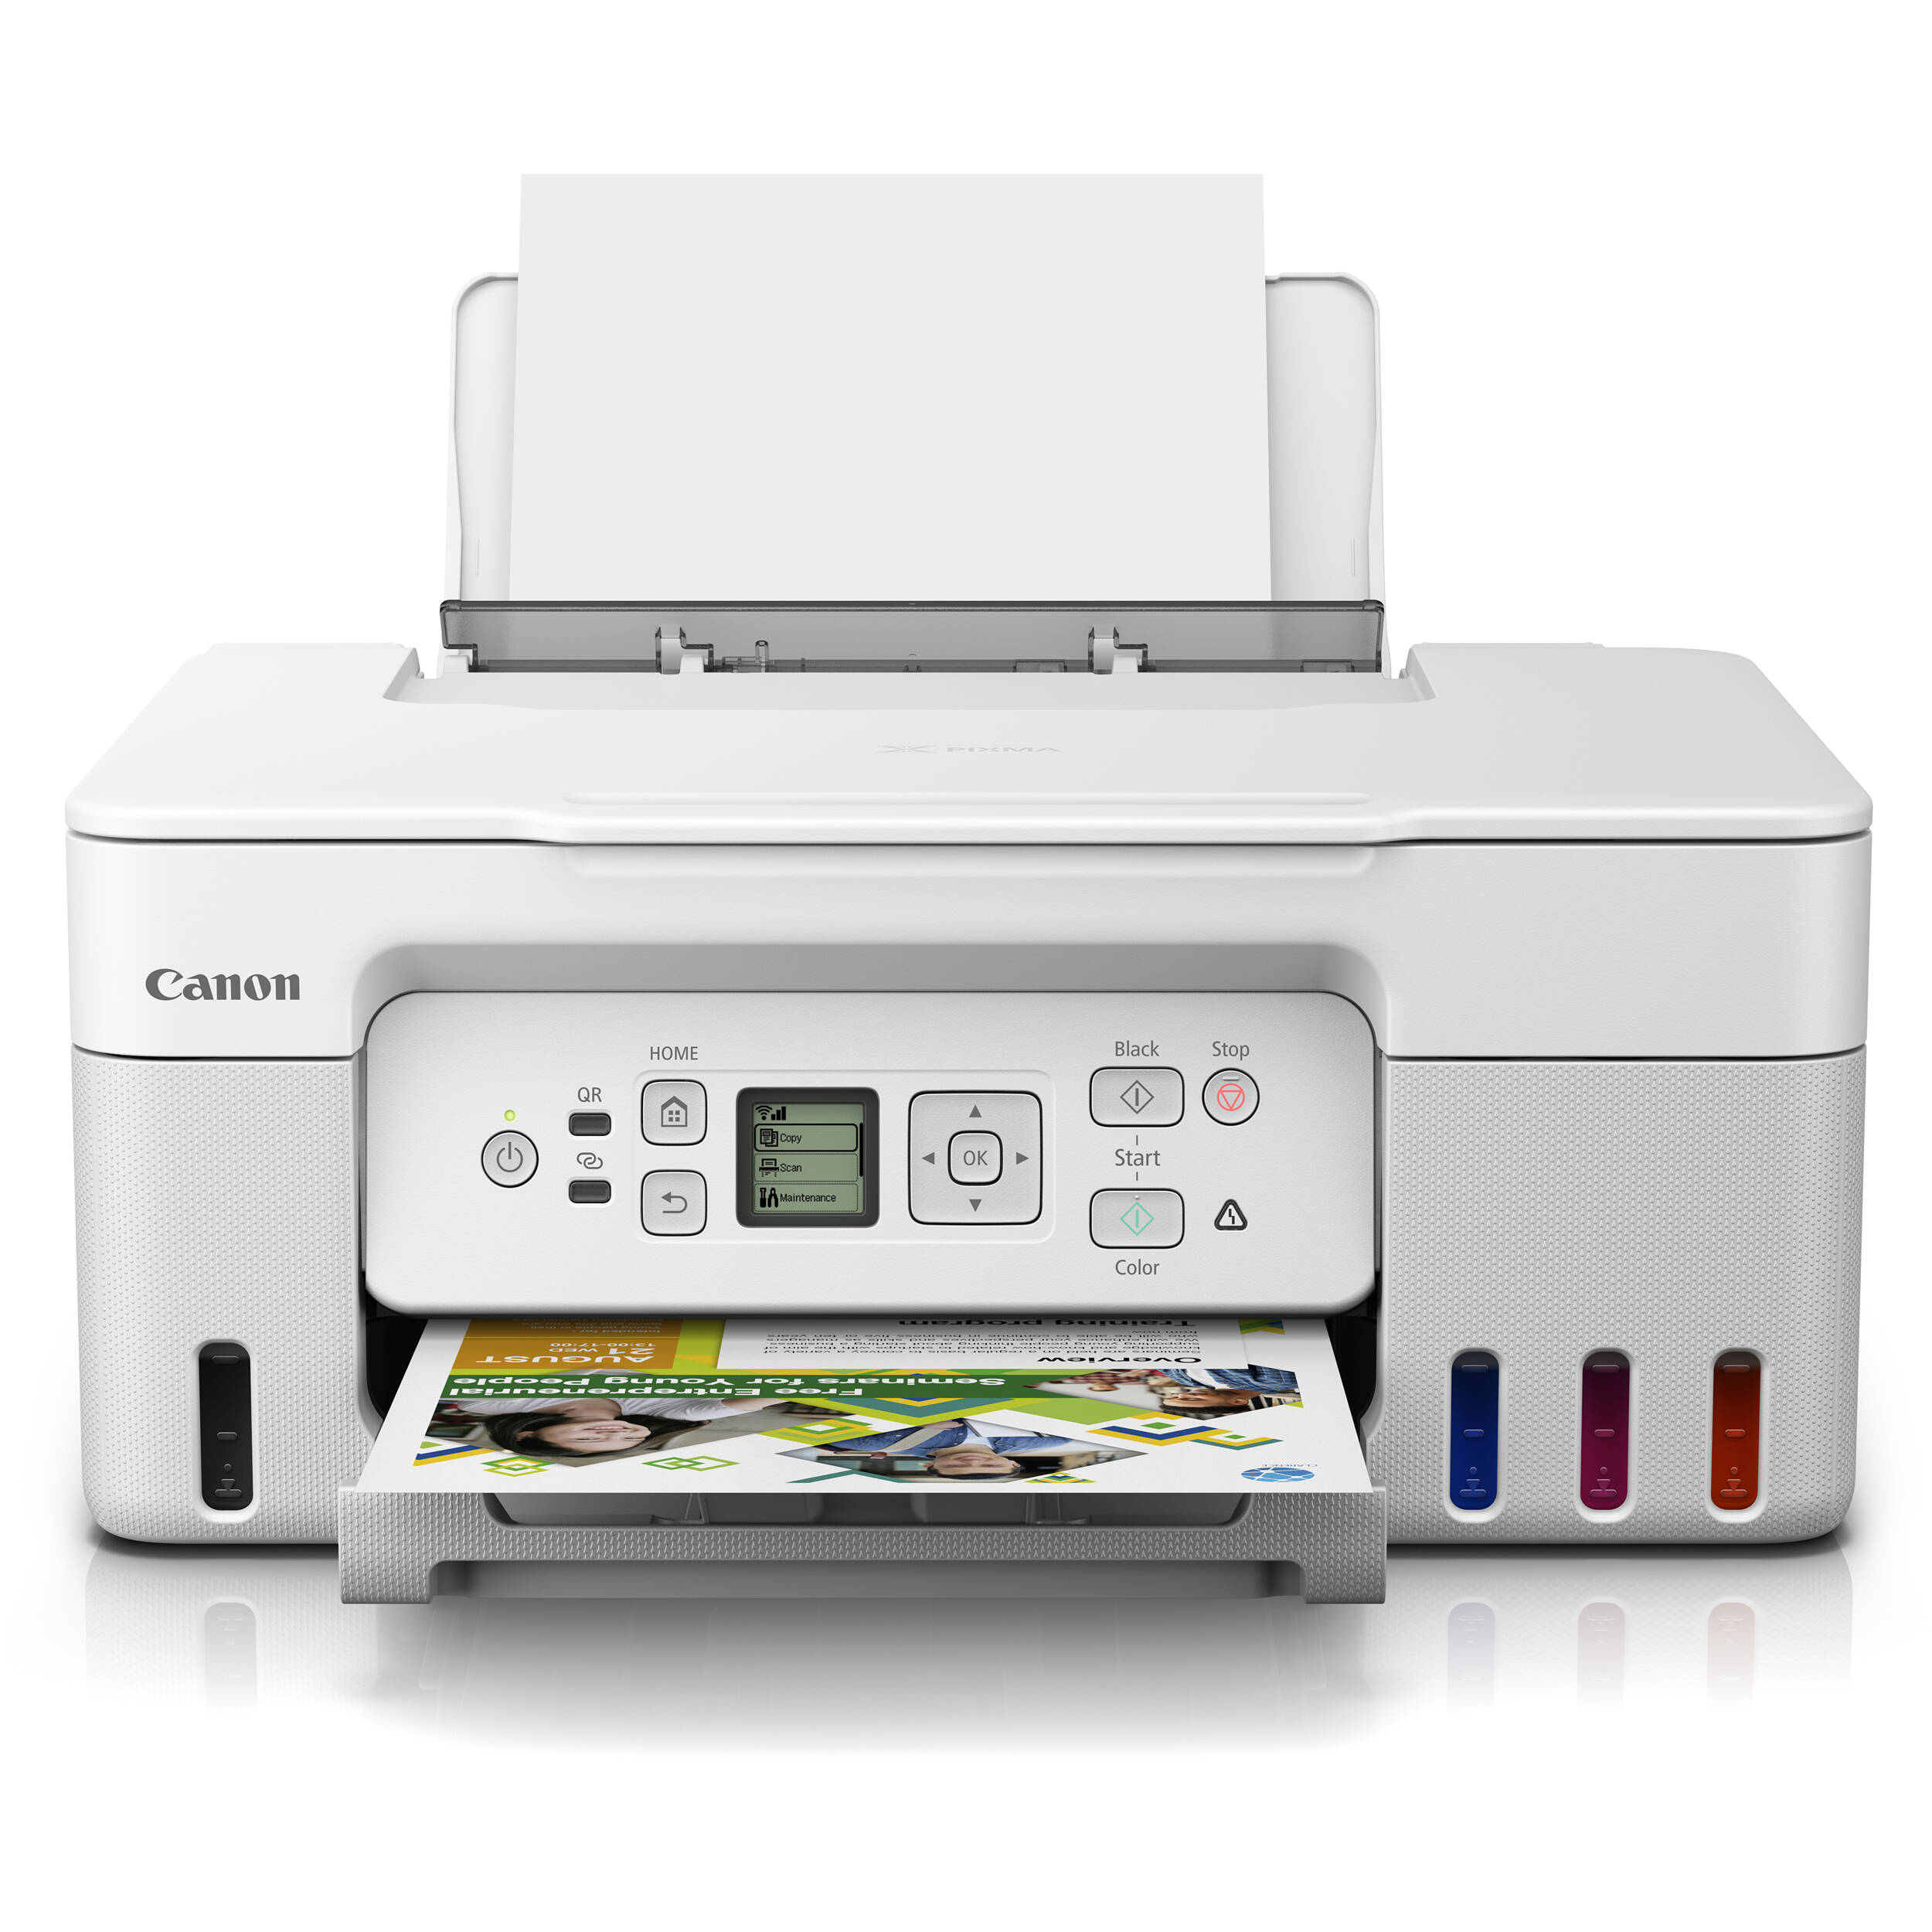
Canon G2010 is a popular printer model that is known for its high-quality printing and user-friendly features. However, like any other electronic device, it may encounter technical issues that require resetting the printer to its default settings. In this blog post, we will guide you on how to reset your Canon G2010 printer.
Step 1: Turn off the Printer
The first step in resetting your Canon G2010 printer is to turn it off. Press the power button on the printer to turn it off. Wait for a few seconds before proceeding to the next step.
Step 2: Press and Hold the Stop Button
Press and hold the stop button on the printer. While holding the stop button, press and hold the power button. Keep holding both buttons until the printer turns on.
Step 3: Release the Buttons
Once the printer turns on, release both buttons. The printer will start initializing, and the power light will start flashing. Wait for the initialization process to complete.
Step 4: Print a Test Page
After the initialization process is complete, print a test page to ensure that the printer is working correctly. If the test page prints correctly, your Canon G2010 printer has been successfully reset.
Conclusion
Resetting your Canon G2010 printer is a simple process that can be done in a few easy steps. By following the steps outlined in this blog post, you can reset your printer to its default settings and ensure that it is working correctly. If you encounter any issues during the resetting process, consult the printer manual or contact Canon customer support for assistance.
